Bushcraft Beach Tent Setup: Windproof Shade & Basecamp
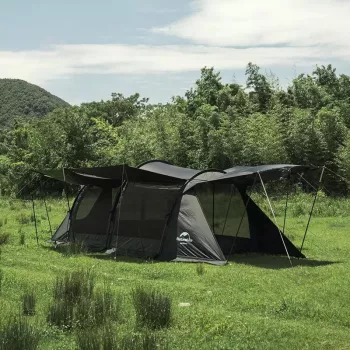
Bushcraft Beach Tent: Reliable Shade for Windy Shorelines and Camp-Style Days
Sun, sand, and steady coastal wind can turn a relaxing beach day into a constant battle with glare, blowing grit, and overheating. Our Bushcraft Beach Tent is built for practical beach shelter: a dedicated place to cool down, stash gear out of the sun, and reset between swims, hikes, or shoreline exploring—without overcomplicating the setup. When you treat your beach shelter like a small camp, you spend less time chasing towels and more time enjoying the water.
What a beach shelter needs to do (and what to ignore)
A beach tent doesn’t have to be fancy. It has to be dependable in the exact conditions that make beaches tricky: shifting sun angles, gusts that arrive out of nowhere, and sand that gets into everything.
- Provide real shade coverage where you actually sit and sort gear—not a tiny patch you outgrow as the sun moves.
- Hold position in changing wind; the shoreline is rarely calm for long.
- Create a defined home base for towels, water, snacks, phones, and footwear—away from direct sun and blowing sand.
- Set up fast so it’s worth using for short stops, not only all-day camps.
- Avoid bulky footprints that are hard to place on busy beaches or near dune walkovers.
What to ignore: gimmicks that add steps but don’t add stability, and “extra space” you can’t realistically anchor on soft sand when the wind turns.
Bushcraft-minded design for the beach
A bushcraft approach favors simple, repeatable shelter habits: pick a spot, set a wind-facing side, anchor well, and keep gear organized. Beach conditions change by the hour—tide line shifts, wind rotates, the sun slides across the sky—so a tent-style shelter helps you maintain a consistent shaded area without constantly rebuilding your setup.
Use your tent as a “sand management” zone. Make the entrance the shake-off point, keep dry items grouped inside a single bag, and avoid burying essentials under towels where they vanish the moment the wind kicks up.
Shoreline conditions and how to set up for them
| Condition | Placement tip | Anchoring focus | Comfort add-on |
|---|---|---|---|
| Steady onshore breeze | Aim the lower-profile side into the wind | Prioritize corners and windward points first | Use a ground sheet or blanket inside to reduce sand drift |
| Shifting wind | Leave room to rotate or adjust orientation | Anchor all points evenly | Keep heavier items low and toward the back |
| High sun / low cloud cover | Position for midday shade where seating will be | Anchors can loosen in hot, dry sand—recheck periodically | Bring extra water and reapply sunscreen regularly |
| Busy beach | Choose a compact footprint away from walk paths | Secure lines so they don’t cross high-traffic zones | Mark corners clearly to prevent tripping |
Quick setup routine that stays secure
Wind problems usually come from rushing the first two minutes. A simple routine keeps your shelter calm and your time on the sand relaxing.
- Step 1: Pick higher, drier sand above the most recent wet line, then confirm the tide is not moving toward the site.
- Step 2: Face the most wind-resistant side into the prevailing wind to reduce flapping.
- Step 3: Anchor windward points first; then tension the remaining points to keep fabric stable.
- Step 4: Recheck anchors after 10–15 minutes—sand settles, especially when gusts pick up.
- Step 5: Keep the interior tidy: store small items in a single bag so nothing disappears into sand.
If your beach has frequent gusts, build “redundancy” into your layout: keep the heaviest items low, avoid leaving loose packaging around, and keep your exit path clear so you can adjust quickly.
How to use the tent as a basecamp, not just a sunshade
The best beach days have a rhythm. A reliable shelter becomes the checkpoint that keeps everyone hydrated, organized, and calm.
What to pack with a beach tent (simple, effective kit)
- Hydration: Bring more water than expected—wind and sun accelerate dehydration.
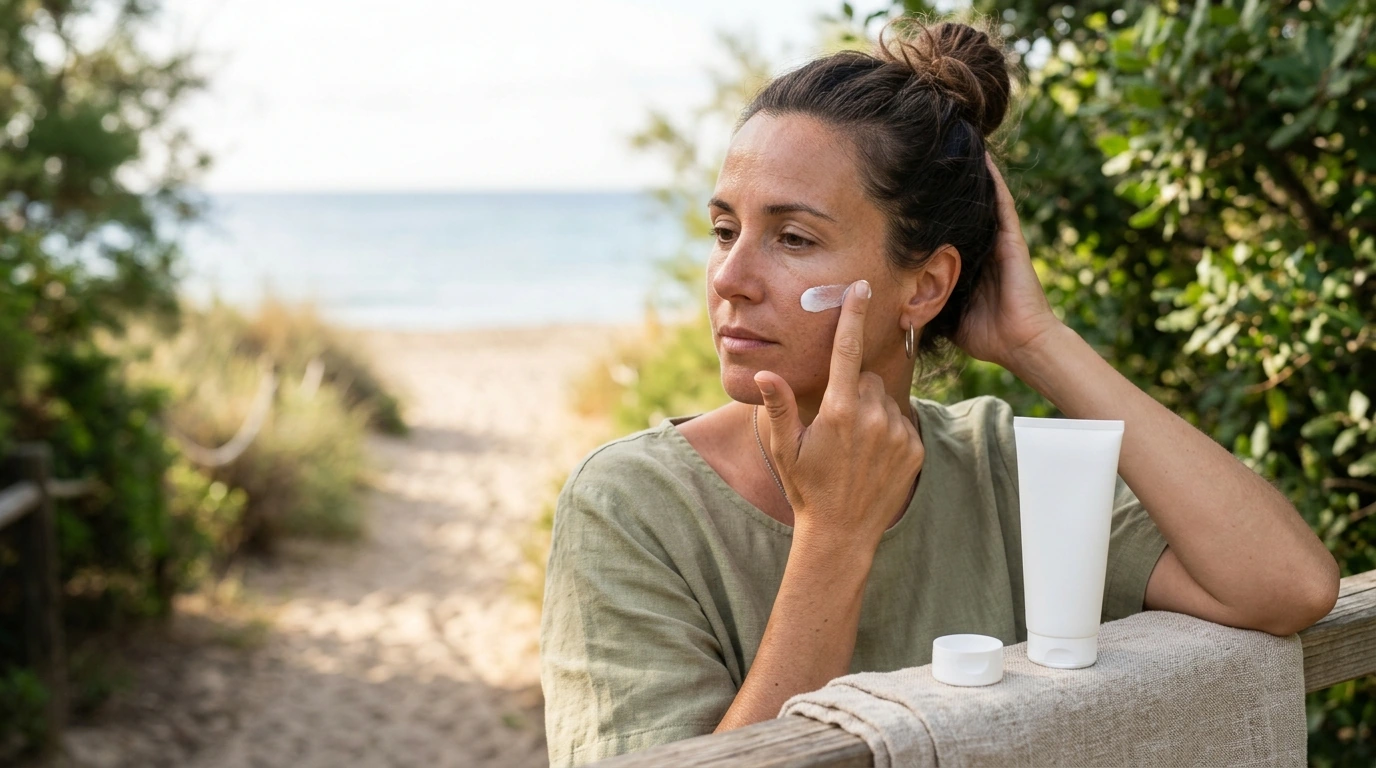
- Sun protection: Sunscreen, a hat, and UV-protective layers for long stays. Shade helps, but UV can still reflect from sand and water; NOAA’s UV Index guidance is a solid reference: https://www.noaa.gov/education/resource-collections/weather-atmosphere/uv-index.
- Sand control: A small brush or cloth for zippers and seams; a dedicated bag for electronics.
- Safety basics: A small first-aid kit, blister care, and a whistle if you explore farther downshore. If you’re near surf zones, it’s also worth understanding rip current basics from NOAA: https://oceanservice.noaa.gov/facts/ripcurrent.html.
- Leave no trace: A trash bag and a quick scan of the area before you leave.
Care and storage for longer service life
More in-stock picks from our team
- Bushcraft Beach Tent
- Maximize Function, Minimize Clutter | Multifunctional Room Layouts eBook | Small Space Design Guide | Space-Saving Furniture & Smart Home Ideas
- One Room, Real Progress: A Simple Step-by-Step Guide for Stress-Free Home Organization
FAQ
How do you keep a beach tent from blowing away?
Set up on higher, drier sand, face the wind-resistant side into the prevailing wind, and anchor the windward points first before tensioning the rest. Recheck anchors after 10–15 minutes as the sand settles, keep lines out of walk paths, and store heavier items low inside to add stability.
Where should a beach tent be placed relative to the tide?
Place it above the most recent wet line with a buffer, and confirm the tide isn’t advancing toward your spot. If the waterline starts creeping closer, reposition early rather than waiting until the sand becomes unstable and hard to anchor.
Is shade enough on high-UV days?
Shade reduces direct sun, but UV still reflects off sand and water, so protection needs layers. Use sunscreen, a hat, and protective clothing, and take regular cool-down breaks even if you’re spending time under shelter.



Leave a comment